Imagine a world where your hunting gear is not just functional, but also versatile, lightweight, and incredibly efficient. Welcome to the world of the Tethrd Roll UP. This ingenious piece of equipment is a game-changer for one stick climbers and saddle hunters alike, designed with a keen eye for detail and a deep understanding of your needs in the great outdoors.
Priced at a reasonable $44.99, the Tethrd Roll UP is not just an accessory, but an investment in your hunting experience. It’s readily available, waiting to revolutionize your outdoor adventures and take your hunting experience to new heights.
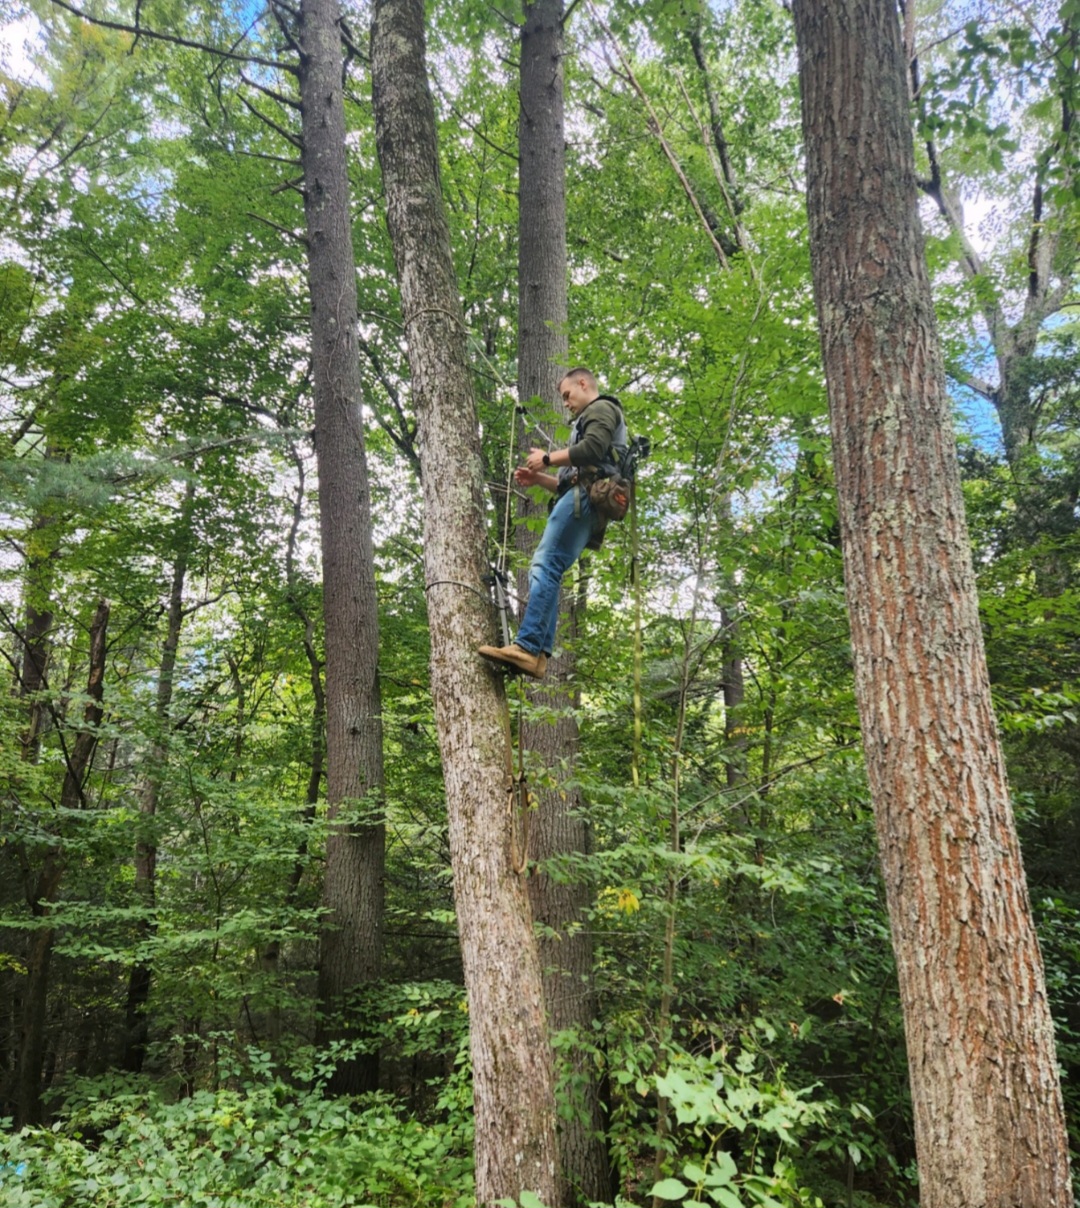
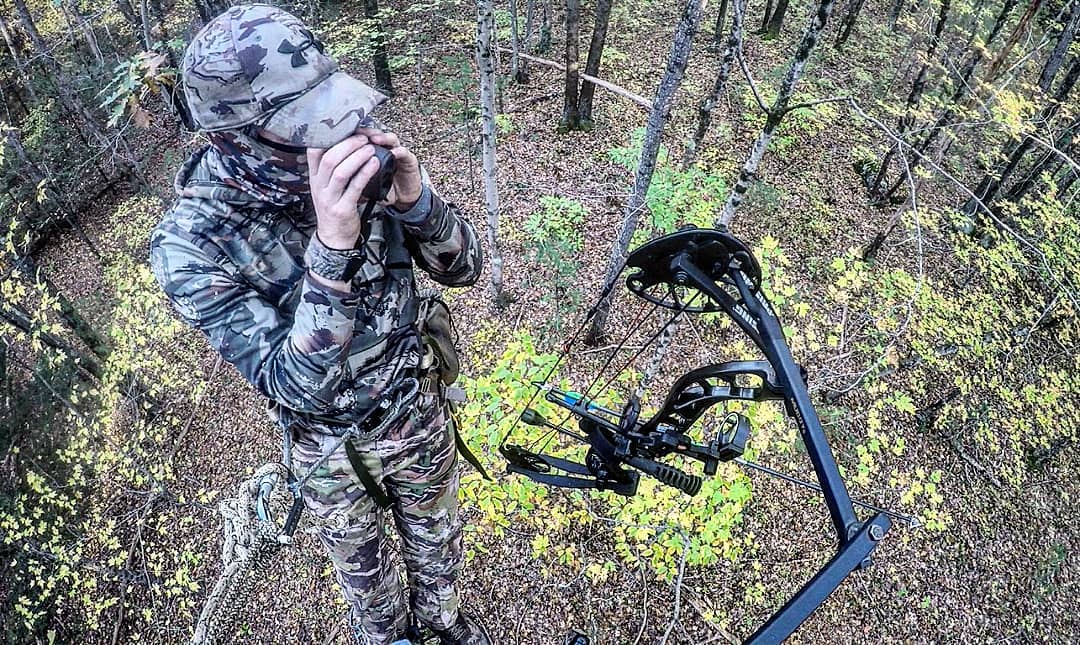
Demonstration of how to set up the Tethrd RollUp Pouch for one sticking. The video showcases how perfectly a 30ft rope and a MadRock Safeguard fits into the pouch, emphasizing the product’s efficiency and convenience for climbers.
Design and Functionality: A Masterpiece of Efficiency and Versatility
From the moment I laid my hands on the Tethrd Roll UP, I knew I had found something special. Its design speaks volumes about its purpose—every inch, every feature, meticulously crafted for the one stick hunters. Yet, its versatility is what truly sets it apart.
One of the standout features of the Roll UP is its thoughtful design for one stick hunting. It’s purpose-built to hold 40′ of 8-10mm rope, a testament to its commitment to serving the needs of hunters. But the magic of the Roll UP doesn’t stop there. Its universal design allows for fast and efficient packing and organizing, no matter your climbing method. This isn’t just a product—it’s a tool that understands and enhances your climbing experience.
In my time with the Tethrd Roll UP, I’ve come to appreciate its design and functionality. It’s not just a product I use—it’s a product I love, and one that has transformed my climbing experience.
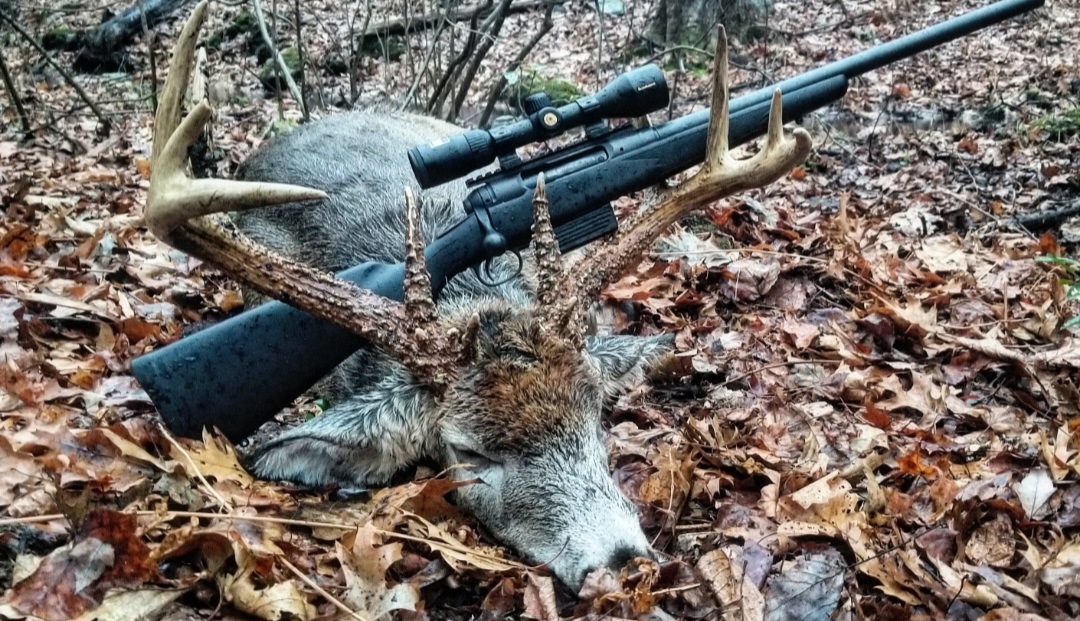
The video showcases the use of a Tethrd Saddle in conjunction with a Madrock Safeguard for one sticking, in preparation for the 2022 deer season.
Unique Features: The Magic is in the Details
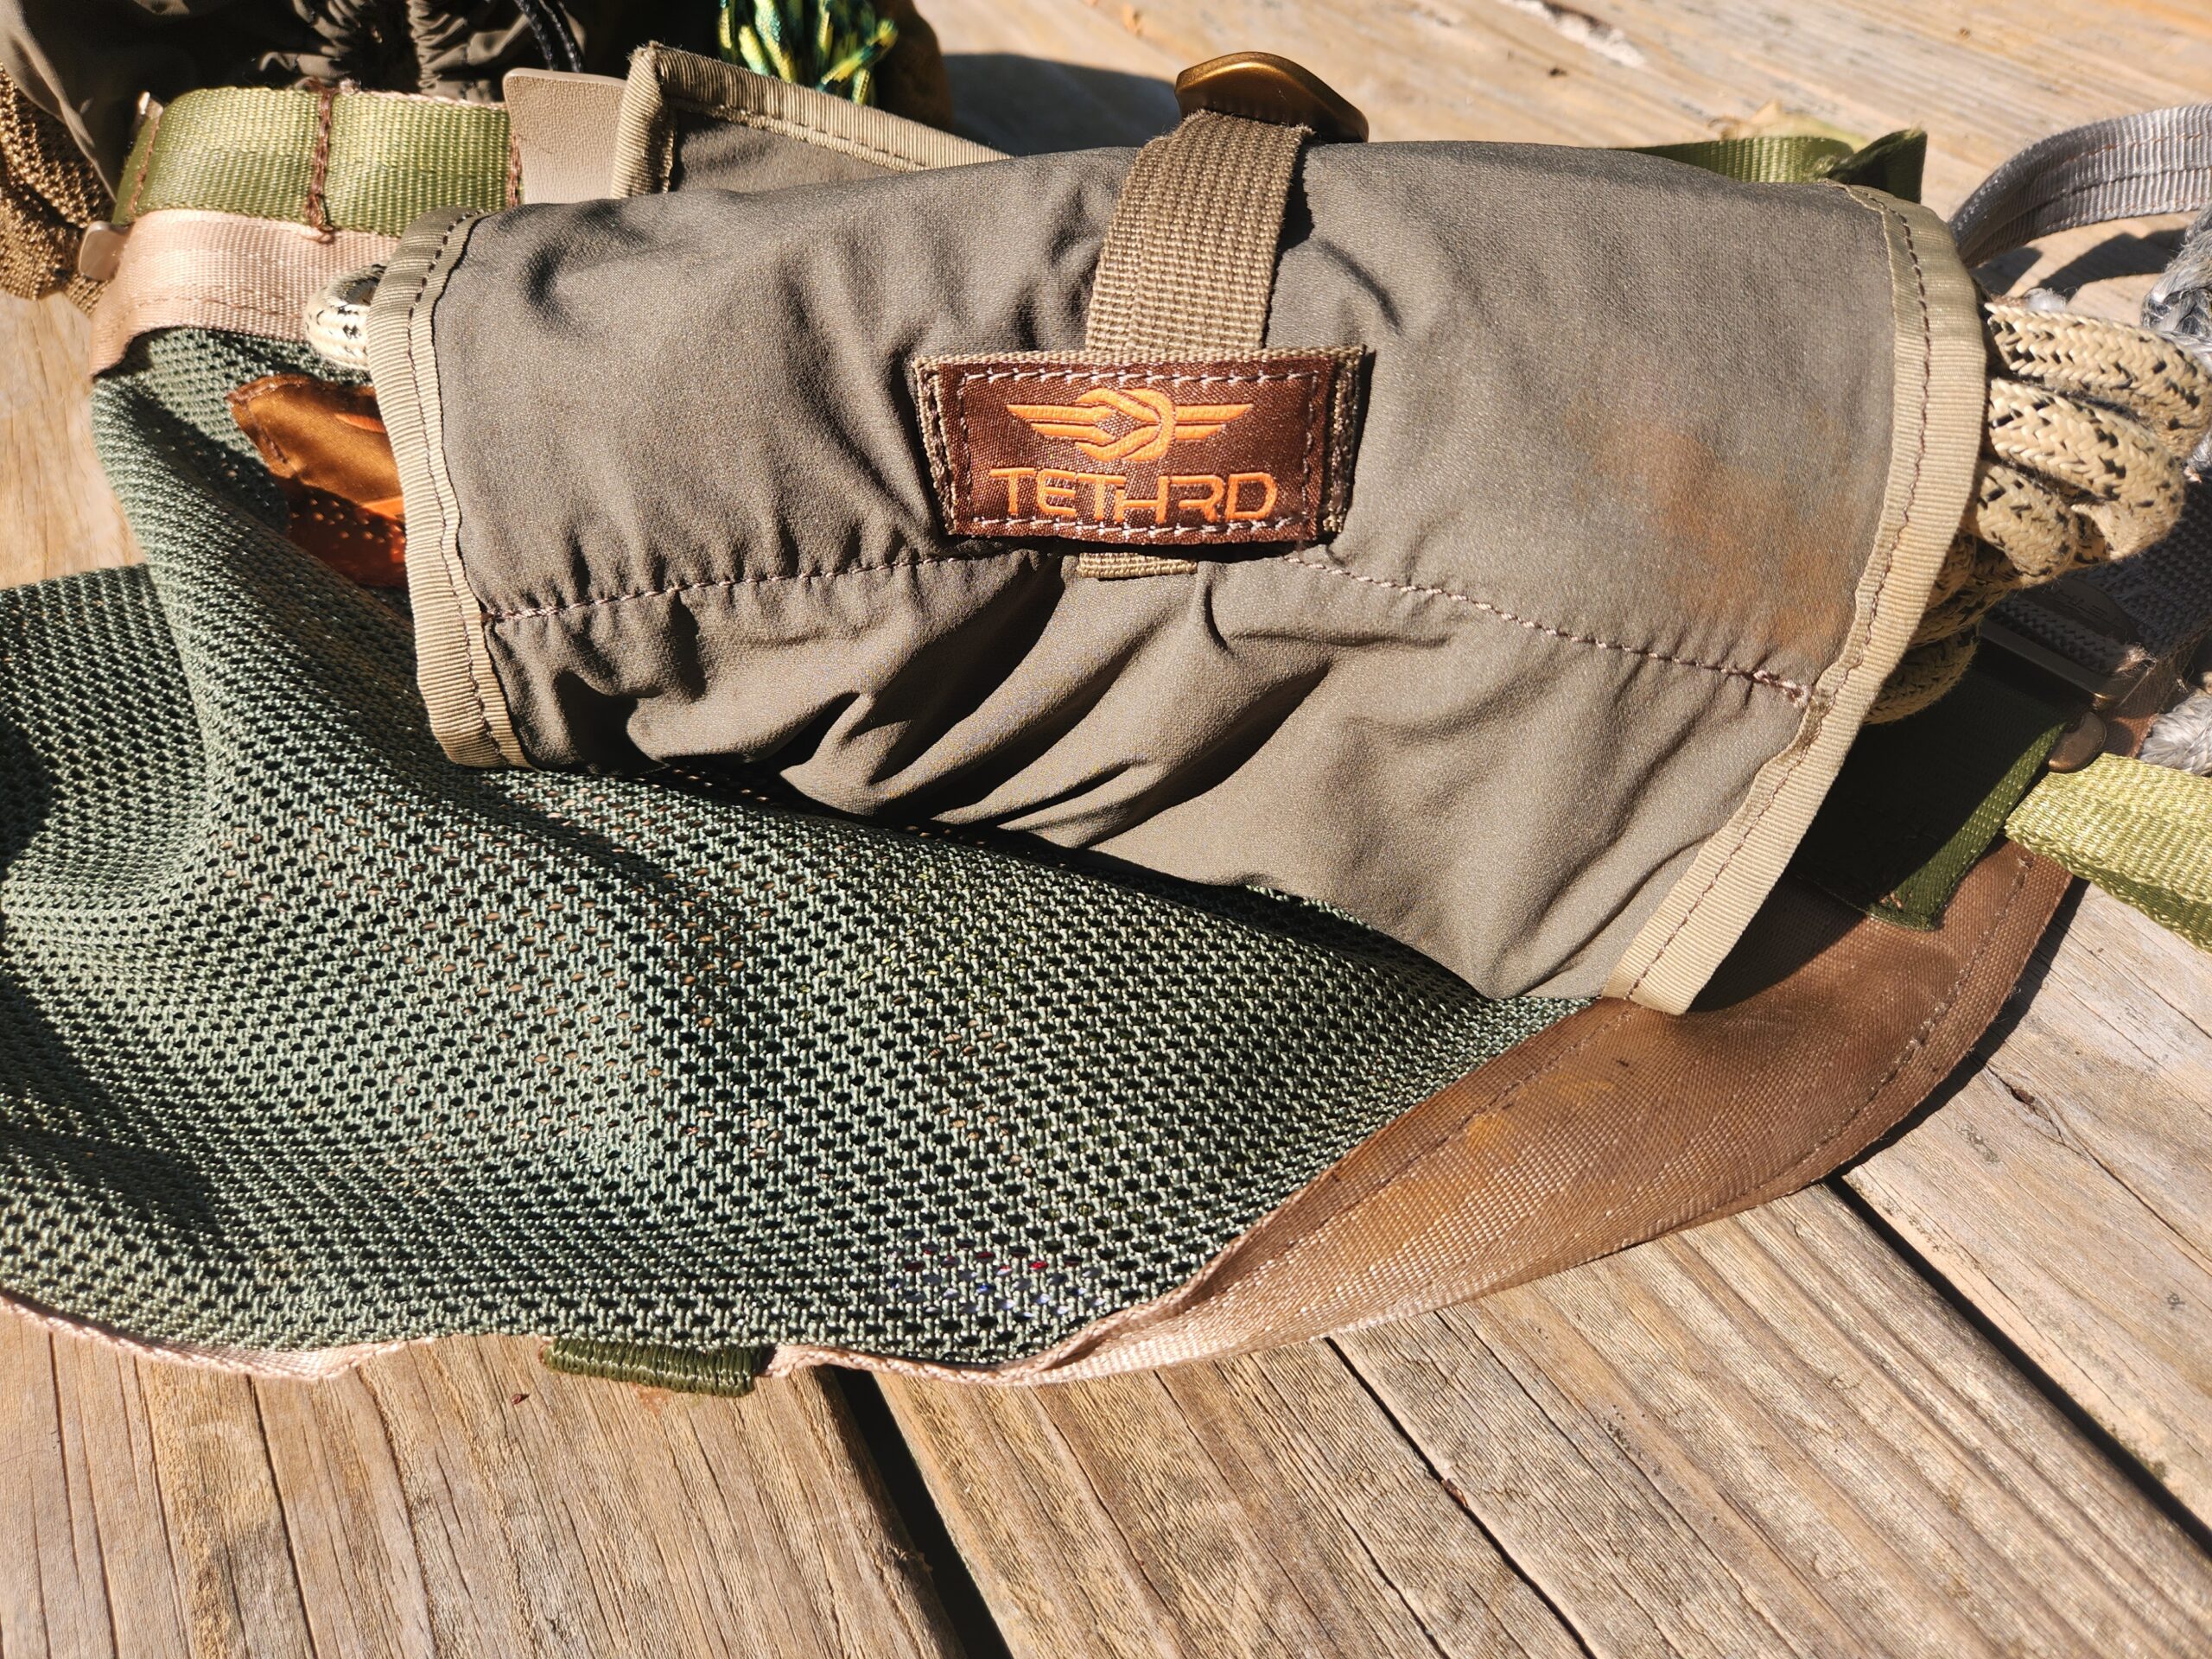
The Tethrd Roll UP isn’t just about functionality—it’s about innovation. One of the features that I’ve grown to love is its smart, easy access storage. It’s a simple yet powerful design element that makes a world of difference when you’re out in the field. The storage is designed to not only complement one stick hunter requirements but also accommodate any other saddle hunting gear. It’s this kind of thoughtful design that sets the Roll UP apart from the crowd.
But the Roll UP doesn’t stop at storage. It goes a step further to enhance your packing and organizing systems, regardless of your climbing method. Whether you’re a one stick hunter or prefer another method, the Roll UP is designed to make your packing and organizing fast and efficient. It’s a product that works with you, adapting to your needs and making your climbing experience smoother and more enjoyable.
One of the standout features of the Roll UP is its universal MOLLE attachment points. This feature ensures compatibility with all standard MOLLE/PALS systems, allowing you to attach the Roll UP to a pack, a saddle, or wherever you prefer to store your gear. It’s this level of versatility and adaptability that makes the Roll UP a truly unique product in the hunting gear market.
In my experience, the Tethrd Roll UP is more than just a product—it’s a testament to innovation and thoughtful design. Its unique features have not only enhanced my hunting experience but also made me a more efficient and organized climber allowing me to spend more time hunting instead of setting up and disassembling.
Additional Benefits: Security and Lightness in One Package
Beyond its unique features and functionality, the Tethrd Roll UP brings additional benefits to the table that further enhance its value. One such benefit is the added security provided by the zippered pockets. These pockets offer a secure place to store your gear, giving you peace of mind as you navigate your climbing adventures. It’s a small detail, but one that makes a significant difference in the overall user experience.
But perhaps one of the most impressive aspects of the Roll UP is its lightweight nature. Weighing in at a mere 4.8 ounces, the Roll UP is a testament to Tethrd’s commitment to creating products that are not only functional and versatile but also incredibly lightweight. This lightweight design makes the Roll UP easy to carry and truly makes you a lightweight mobile hunter, making your climbing experience more enjoyable and less strenuous.
Safety Precautions: Climbing with Confidence
When it comes to climbing, safety is paramount. Tethrd understands this, and their advice and recommendations for using the Roll UP reflect their commitment to user safety. They strongly advise against using any gear outside of the manufacturer’s specifications. This includes ropes, hardware, and other gear that may have been heavily modified or used outside of their intended purposes.
Tethrd also emphasizes the importance of professional supervision when trying new climbing methods. They recommend always remaining connected to the tree with a lineman rope and/or tether as you ascend and descend. It’s also crucial to reduce slack in your ropes as much as possible to maintain control and stability.
These safety precautions are not just guidelines—they’re essential practices for safe and responsible climbing.
Remember, the Tethrd Roll UP is an incredible tool, but like any climbing equipment, it must be used responsibly. Always prioritize safety, follow Tethrd’s recommendations, and enjoy your climbing adventures with the assurance that you’re using your gear correctly.
Wrapping Up: The Tethrd Roll UP Experience
As we journey through the world of one sticking, the Tethrd Roll UP stands out as a beacon of innovation, functionality, and versatility. Its design caters to the needs of single stick climbers while also offering a universal appeal to all saddle hunters. The smart, easy access storage, the universal MOLLE attachment points, and the lightweight design all come together to create a product that truly enhances the climbing experience.
But the Roll UP is more than just its features—it’s the added security of the zippered pockets, the emphasis on safety, and the overall commitment to improving your hunting experience that truly sets it apart. It’s a product that understands and adapts to your needs, making your climbing adventures more efficient, organized, and enjoyable.
With the Tethrd Roll UP, I’ve come to appreciate not just its features, but the thought and care that went into its design. It’s a product I love, and one that has truly transformed my one sticking experience. Whether you’re a one stick climber or a saddle hunter, the Tethrd Roll UP is a game-changer that promises to elevate your climbing adventures to new heights.
Design and Functionality: A Masterpiece of Efficiency and Versatility
From the moment I laid my hands on the Tethrd Roll UP, I knew I had found something special. Its design speaks volumes about its purpose—every inch, every feature, meticulously crafted for the one stick hunters. Yet, its versatility is what truly sets it apart.
One of the standout features of the Roll UP is its thoughtful design for one stick hunting. It’s purpose-built to hold 40′ of 8-10mm rope, a testament to its commitment to serving the needs of hunters. But the magic of the Roll UP doesn’t stop there. Its universal design allows for fast and efficient packing and organizing, no matter your climbing method. This isn’t just a product—it’s a tool that understands and enhances your climbing experience.
In my time with the Tethrd Roll UP, I’ve come to appreciate its design and functionality. It’s not just a product I use—it’s a product I love, and one that has transformed my climbing experience.
Unique Features: The Magic is in the Details
The Tethrd Roll UP isn’t just about functionality—it’s about innovation. One of the features that I’ve grown to love is its smart, easy access storage. It’s a simple yet powerful design element that makes a world of difference when you’re out in the field. The storage is designed to not only complement one stick hunter requirements but also accommodate any other saddle hunting gear. It’s this kind of thoughtful design that sets the Roll UP apart from the crowd.
But the Roll UP doesn’t stop at storage. It goes a step further to enhance your packing and organizing systems, regardless of your climbing method. Whether you’re a one stick hunter or prefer another method, the Roll UP is designed to make your packing and organizing fast and efficient. It’s a product that works with you, adapting to your needs and making your climbing experience smoother and more enjoyable.
One of the standout features of the Roll UP is its universal MOLLE attachment points. This feature ensures compatibility with all standard MOLLE/PALS systems, allowing you to attach the Roll UP to a pack, a saddle, or wherever you prefer to store your gear. It’s this level of versatility and adaptability that makes the Roll UP a truly unique product in the hunting gear market.
In my experience, the Tethrd Roll UP is more than just a product—it’s a testament to innovation and thoughtful design. Its unique features have not only enhanced my hunting experience but also made me a more efficient and organized climber allowing me to spend more time hunting instead of setting up and disassembling.
Additional Benefits: Security and Lightness in One Package
Beyond its unique features and functionality, the Tethrd Roll UP brings additional benefits to the table that further enhance its value. One such benefit is the added security provided by the zippered pockets. These pockets offer a secure place to store your gear, giving you peace of mind as you navigate your climbing adventures. It’s a small detail, but one that makes a significant difference in the overall user experience.
But perhaps one of the most impressive aspects of the Roll UP is its lightweight nature. Weighing in at a mere 4.8 ounces, the Roll UP is a testament to Tethrd’s commitment to creating products that are not only functional and versatile but also incredibly lightweight. This lightweight design makes the Roll UP easy to carry and truly makes you a lightweight mobile hunter, making your climbing experience more enjoyable and less strenuous.
Safety Precautions: Climbing with Confidence
When it comes to climbing, safety is paramount. Tethrd understands this, and their advice and recommendations for using the Roll UP reflect their commitment to user safety. They strongly advise against using any gear outside of the manufacturer’s specifications. This includes ropes, hardware, and other gear that may have been heavily modified or used outside of their intended purposes.
Tethrd also emphasizes the importance of professional supervision when trying new climbing methods. They recommend always remaining connected to the tree with a lineman rope and/or tether as you ascend and descend. It’s also crucial to reduce slack in your ropes as much as possible to maintain control and stability.
These safety precautions are not just guidelines—they’re essential practices for safe and responsible climbing.
Remember, the Tethrd Roll UP is an incredible tool, but like any climbing equipment, it must be used responsibly. Always prioritize safety, follow Tethrd’s recommendations, and enjoy your climbing adventures with the assurance that you’re using your gear correctly.
Wrapping Up: The Tethrd Roll UP Experience
As we journey through the world of one sticking, the Tethrd Roll UP stands out as a beacon of innovation, functionality, and versatility. Its design caters to the needs of single stick climbers while also offering a universal appeal to all saddle hunters. The smart, easy access storage, the universal MOLLE attachment points, and the lightweight design all come together to create a product that truly enhances the climbing experience.
But the Roll UP is more than just its features—it’s the added security of the zippered pockets, the emphasis on safety, and the overall commitment to improving your hunting experience that truly sets it apart. It’s a product that understands and adapts to your needs, making your climbing adventures more efficient, organized, and enjoyable.
With the Tethrd Roll UP, I’ve come to appreciate not just its features, but the thought and care that went into its design. It’s a product I love, and one that has truly transformed my one sticking experience. Whether you’re a one stick climber or a saddle hunter, the Tethrd Roll UP is a game-changer that promises to elevate your climbing adventures to new heights.